
What Should You Expect During Professional Paver Installation?
Initial Steps to Planning Your Paver Project
Making the decision to revamp your patio is an exciting step toward bringing it to life. At Cimenelllos, we will set up a consultation to explore the site and discuss all aspects of the vision. We start the consultation with a site evaluation. This involves understanding the terrain of the outdoor space. Are there water features on site? What is the health of the soil? Is the ground level? What kind of drainage patterns exist currently? The characteristics of the space will matter when it comes time to break ground on the project.
Of course, the consultation wouldn't be complete without discussions about design outlines, material preferences, and measurements to get a realistic view of how the space will be laid out. To round off the appointment, our professionals will provide a realistic understanding of the timeline and expectations for when the project can begin, along with an estimate of completion.
The Importance of the Pave Base
When it's time to break ground on your paver installation process, you’ll know you have a trustworthy, professional paver when there is a heavy emphasis on the preparation before the foundation is laid. The distinction in how impactful the paver base is during paver installations is a sure-fire way to spot an amateur installer from a seasoned veteran.
Now, why is the paver base so important? Having a solid, well-balanced foundation is what keeps the paver surface from shifting, cracking, or sagging over time. It ultimately protects your outdoor investment from premature deterioration caused by improper installation.
Preparing the paver base involves considering the climate you live in, how freeze-thaw cycles will impact the ground, and the type of pavers that may help prevent shifting. Review the soil type and drainage solutions for any problem areas that could lead to premature erosion or pooling. Even techniques and tools used for soil compacting can have massive repercussions if not done with meticulous precision. We recommend you get familiar with some of these concepts so when choosing a landscape company, youll know when you're dealing with a reputable group.
Bedding Sand: The Secret to a Level Foundation
It's typical for professionals to use gravel or crushed stone as the final compaction layer for the project base. From there, the foundation needs to be leveled, which is where bedding sand comes in. Bedding sand is a type of sand (can have several names like concrete sand, utility sand, etc) that is poured over the concrete to fill gaps and provide a solid, secure foundation for the pavers to sit on top of. Standard bedding sand is about an inch thick because it can lose significant height after the pavers are placed and the layer is tamped down.
Again, it's imperative that the foundation layer is completed with exactitude, as it affects the longevity of your patio. Without it, a slew of issues will begin to form over just a few months and a few extreme weather events. You can expect to see an uneven surface with sinking corners and trip-hazard humps, shifting and loosening of the pavers themselves, or gaps and cracks as the layer settles. With the exception of a few minor cosmetic adjustments, these problems cannot be fixed without incurring the cost of tearing up the patio and addressing the root of the issue at the foundation.
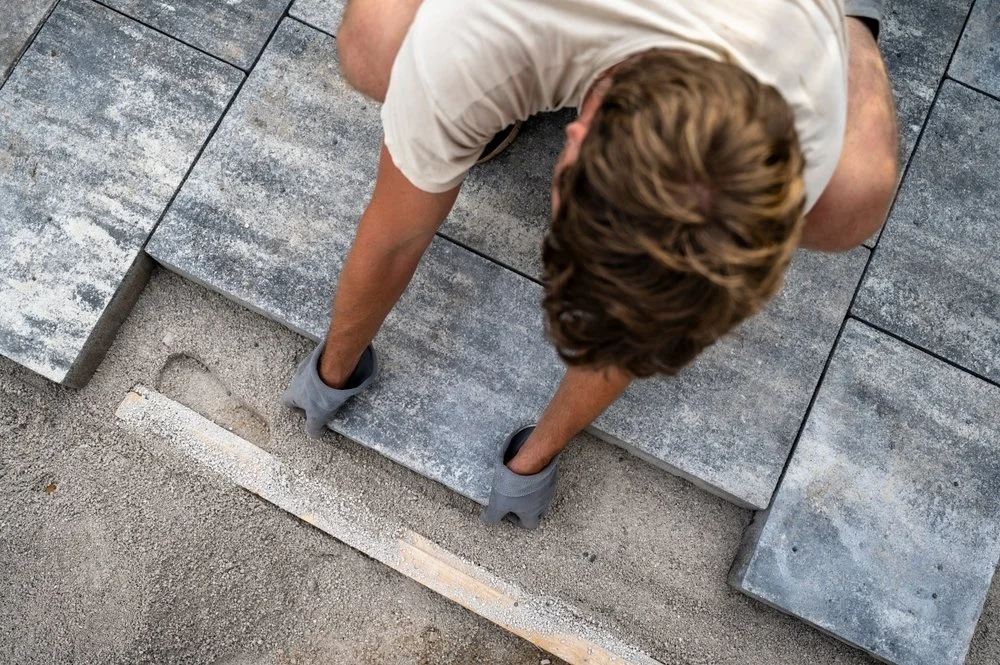
The Paver Installation Process
While every landscape design company has its own method of madness when laying pavers, we will discuss some of the pros and cons of the process.
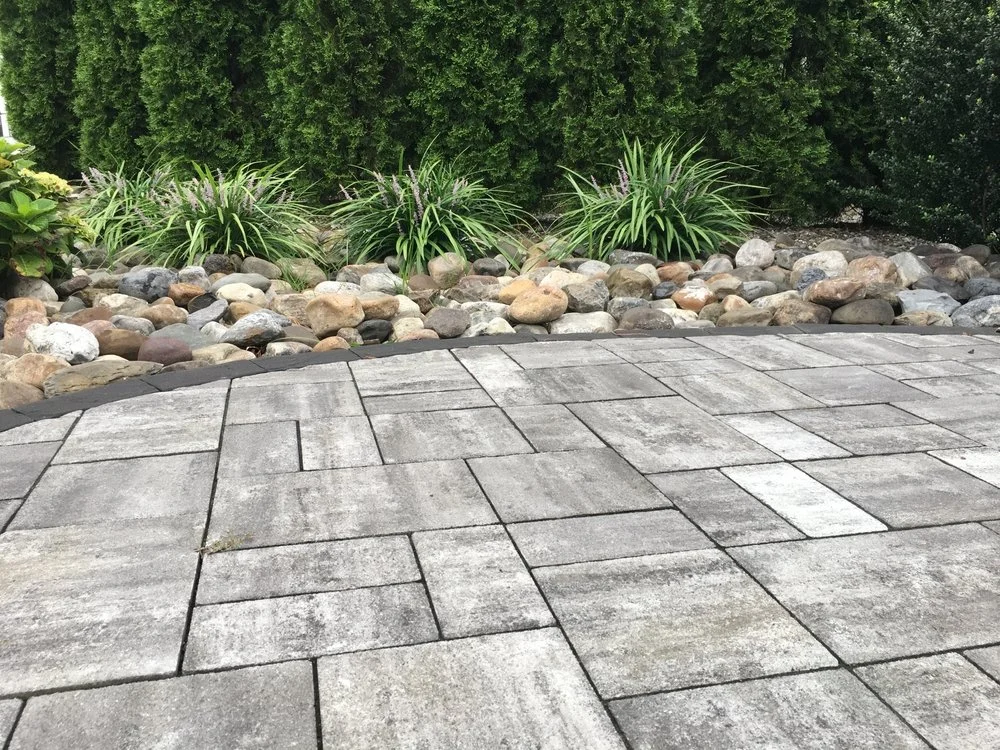
When laying pavers, there are variations in techniques in how they start, and in the design pattern of the pavers themselves. Typically, professional pavers choose to start from one location and work outward and around it. For example, some may prefer to start from the middle and work outward, while others may start from one corner.
As the pavers are being laid, spacers will be used to maintain uniform gaps within the design. Although it may seem relatively simple, the laying process can be pretty tedious. Installers are constantly checking to ensure each addition lies flat and the design stays even and in line, while maintaining the appropriate slope for proper water drainage. If you've chosen a unique or intricate paver design, that can add an additional tier of complexity to the project as well.
Cutting Pavers for Custom Fits
Paver material comes into specific focus when it's time to cut. In most patio projects, cutting pavers is unavoidable due to features of your backyard, such as garden boxes, landscaping plants, or other structures. If your outdoor space has many physical intricacies or a fancy design, opt for stones that are easier to cut, like concrete or brick pavers, rather than the denser, harder material of natural stones.
Material choice can also make a big impact on time and cost as well. Choosing granite, for example, is an incredibly hard, dense stone that must be nurtured with special equipment, slow cutting practices, and refined placement techniques to avoid fracture and excess waste.
Traditional Sand vs Polymeric Sand
Once your pavers are down, the next step is another layer of sand to set them in place. A different kind of sand is used than the bedding sand mentioned earlier. You have a choice between regular sand and polymeric sand. The major difference between the two is that polymeric sand has special properties that, once activated with water, will harden and secure the pavers from moving. This is another layer of protection to keep your patio performing well in the long term, along with the strategies above.
However, even with polymeric sand, amateur installers can make common mistakes that reduce the product's stability. The biggest flub with this special sand bonding is the water activation. Overwatering the sand can cause a myriad of problems, from not hardening correctly to discoloration of the pavers to the sand moving or bubbling, forming a hardened crust over the pavers. A seasoned installer will know the proper methods for keeping these challenges at bay.
Finishing Touches
The final touch to completing the paver patio process is the last compaction. Sealing the pavers into the sand with compression will help keep the stones locked in place and level. The initial curing time for polymeric sand is around 2-3 days, but it will continue to harden over the following weeks.
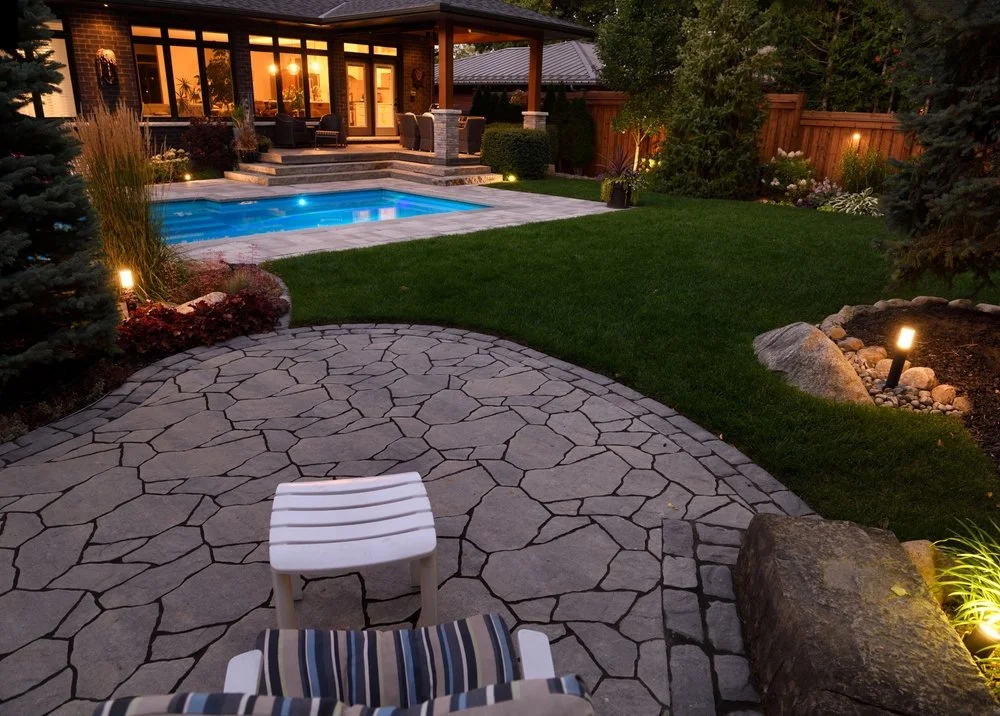
Each layer we’ve discussed builds on the others to ensure the patio's uniformity and health, withstand heavy foot traffic, and withstand your local weather patterns without fear of damage or displacement.